

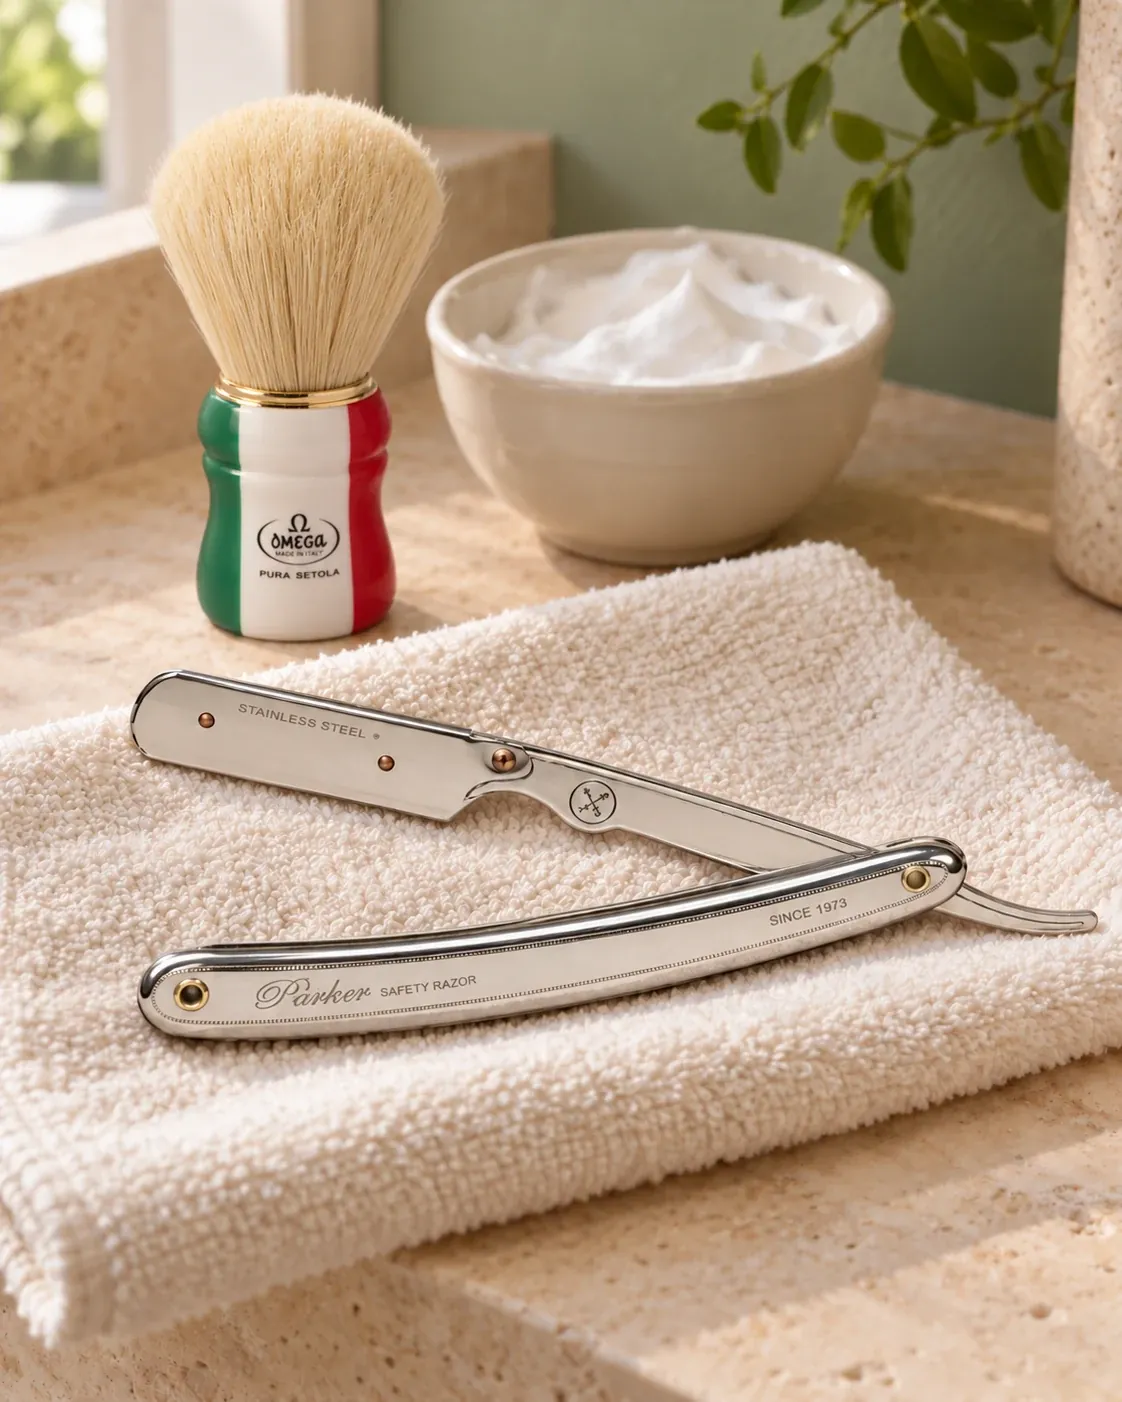
A shavette is a replaceable-blade razor with a handle similar to a traditional straight razor. Its edge needs no stropping or honing: you replace the blade with one compatible with your model. The movement still demands attention. A safety razor remains a useful alternative for areas you are not yet ready to tackle.
Learning does not mean completing a perfect shave straight away. A small area of the cheek, approached calmly, can be enough. Comfort matters more than closeness.
What are the steps of shavette shaving?
- Fit a compatible blade on a stable, well-lit surface, without forcing it.
- Wet the beard with lukewarm water and lather it with a soap or cream suited to your skin.
- Find the direction in which your hair grows, area by area.
- Hold the razor with a steady, relaxed grip and a shallow angle.
- Shave with short, light strokes along the grain, never sliding along the edge.
- Stop after the first pass if your skin or your precision asks you to.
- Rinse, apply a comfortable aftershave product, then clean and store the shavette safely.
Before you begin: know your model
Shavettes do not all take the same blade. Some use half double-edge blades, while others require dedicated blades; the way the blade holder opens can vary too. Read the manufacturer’s instructions and choose compatible replacements. A fresh blade cannot compensate for uncertain assembly or a forced movement.
For a first-hand look at one model, see my review of the “Parker 31R“.
1. Fit the blade without rushing
Choose a stable, well-lit surface and work with dry hands. Open the holder as the manufacturer directs, insert the replacement without touching the edge, and check that it is aligned and secured before bringing the razor to your face. Where your model allows them, ready-made half blades avoid the need to split a whole blade. Do not force a blade or holder that does not fit.
2. Prepare your beard and skin
Thoroughly wet the beard with lukewarm water and apply a shaving soap or cream suited to your skin. A shower or a comfortably warm towel can be part of the ritual, without excessive heat or a fixed timing for everyone. Lather should cover the area you are about to shave and remain moist during the pass.
Why wet whiskers cut more easily is explained in “The Physics of Hydration“.
3. Find the direction of growth
Before lathering, observe the stubble and gently move your fingertips in several directions. Identify the direction in which the hairs lie: this will guide the first pass. The neck, jawline and chin may have different growth patterns from the cheeks. Do not assume that a downward stroke always follows the grain.
4. Find a steady grip
Hold the razor so that you control the blade holder and can see the point of contact. Finger placement depends on the shape of the tool and the hand you use: follow your model’s guidance without gripping so tightly that you become tense. Before touching the skin, pause and make sure you have room for a short, controlled movement.
Keep the angle shallow and appropriate to the tool. Around 30 degrees is a familiar reference in straight-razor practice, but it is not a universal measurement to chase over every curve of the face. If the razor tugs or scrapes, stop and check preparation, grip and blade rather than increasing pressure.
5. Short strokes, never sliding along the edge
Start on a small, relatively flat area of the cheek. Follow the grain with short movements and a light touch. Do not slide the razor sideways along its edge or turn it while it is moving against the skin: stop, lift it away and reposition it.
Use your free hand to keep the surface steady without overstretching it. Rinse the tool carefully and reapply lather before going over an area again. There is no need to tackle the chin, moustache area and neck immediately: you can finish them with the razor you know best.
6. Decide when to stop
Assess the result after the first pass. An across-grain pass is an option, not a requirement; going against the grain does not prove that you have mastered the technique. If the skin becomes sensitive or the movement loses precision, stopping is part of the skill. Do not chase a perfectly smooth finish by repeatedly working the same patch.
7. After the shave
Gently rinse your face and, if appropriate for your skin, apply a comfortable aftershave product. Clean and dry the shavette according to the manufacturer’s instructions. Handle and dispose of the used blade without leaving the edge exposed; store the tool safely, out of children’s reach.
Patience is part of the movement
A small area, a simple stroke, a pause to observe: a shavette invites you to slow down. Progress is measured by control and comfort, rather than the number of passes.
Shavette shaving: common questions
Does a shavette need stropping or honing?
Can any blade be used in a shavette?
Should a beginner shave against the grain with a shavette?
Sources and further reading
Adapted from “Radersi con lo shavette, passo dopo passo” in the Shaveslow library. For blade compatibility and holder design, follow your manufacturer’s instructions. Primary references consulted: Parker SR1, the DOVO Shavette range and FEATHER Professional Artist Club documentation. The details of these systems are not interchangeable.



 English
 Français
 Italiano